I probably say that to myself seven thousand times a day. I get twitchy when things are out of order. When I go to find something and it isn't there, my blood immediately begins to boil. I love to be organized!

We are anticipating and hoping for lots of help when the baby arrives, so I could already imagine her clothes becoming a hot mess after the first load of laundry. How would anybody know where to put things? I thought for about two seconds and came up with this solution: Hanging Chalk Tags.
Not super original. Not super creative. Not super exciting. But super duper functional. And super duper budget-friendly.
Which brings us to last Saturday. I went to AC Moore to track down some cut-out wooden luggage tags. I couldn't find any, so decided to make my own. The most inexpensive way to do this was to buy a six-pack of these small sheets of wood. I used a 50% off coupon and picked up a pack of twine. Less than five bucks for both. I already had a quart of chalkboard paint on hand, which is why I got the idea in the first place.
I wanted to finish this by the time Ben got home from work, so I decided to use the hand miter saw to half the pieces. Before I made any cuts, I quickly ran up to the nursery to see what the sizes would look like in comparison to the baskets.


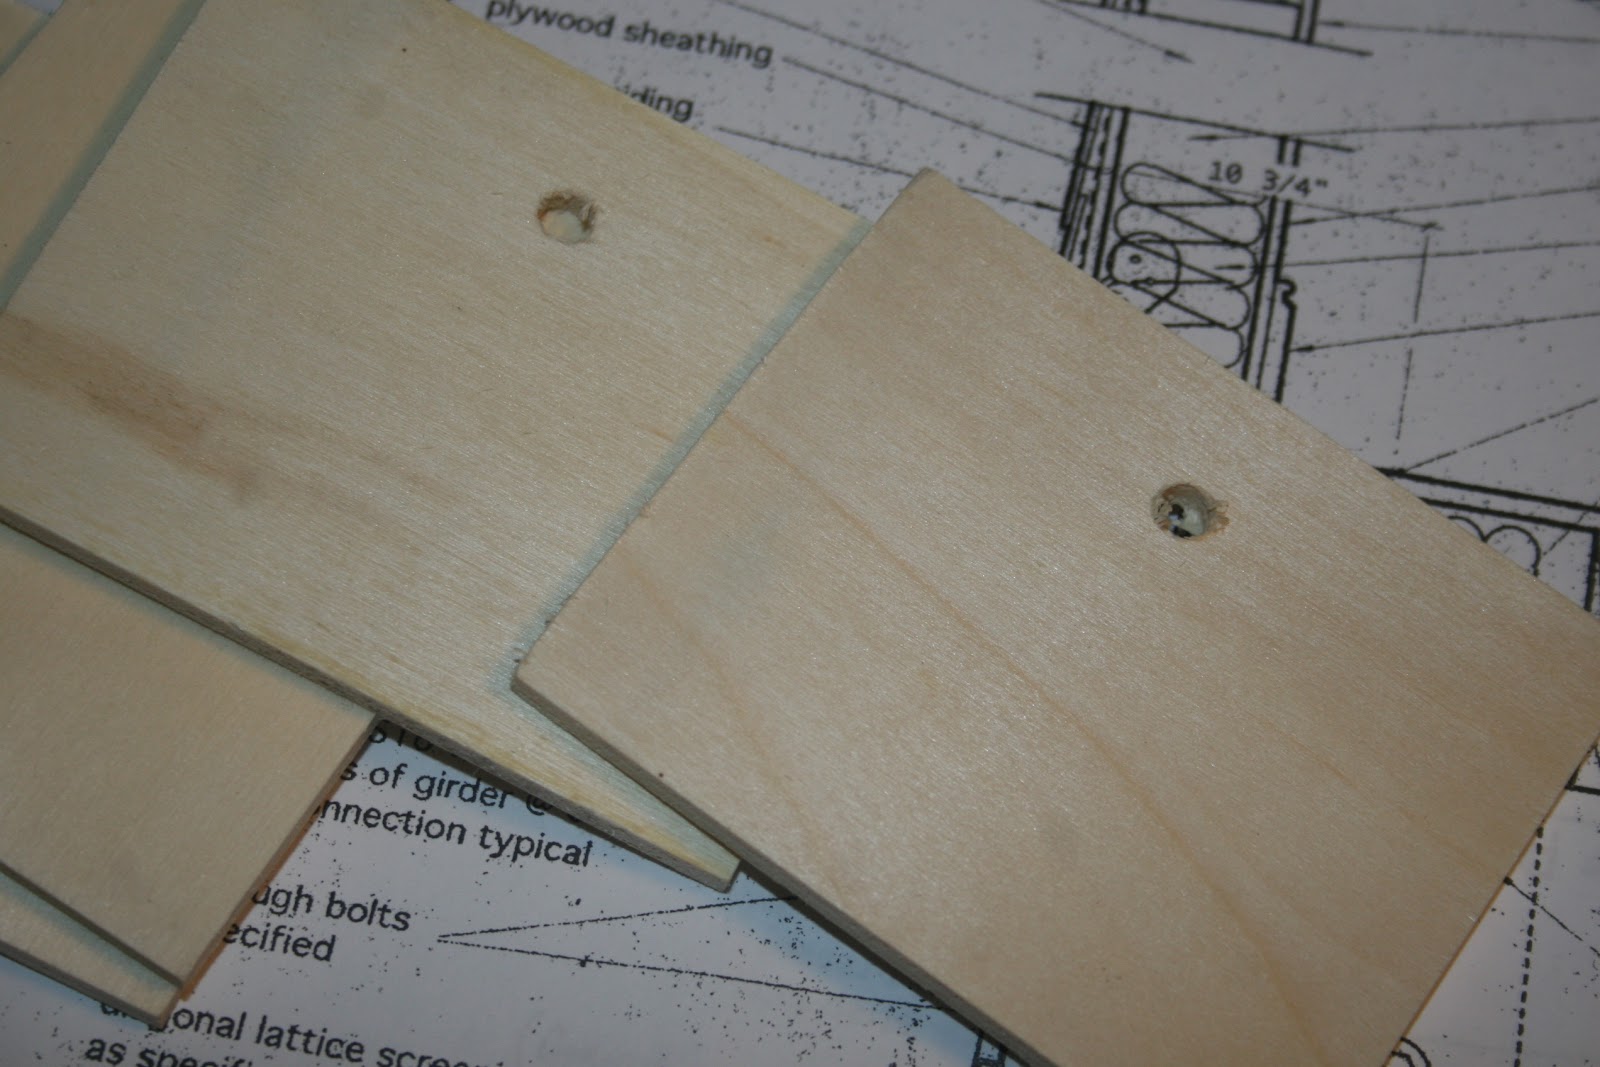
So with the edges sanded and the holes drilled, it was time to paint. I laid down some heavy paper (I use old architectural plans that I get from my boss's dad, who is an engineer...we also use these for wrapping paper!) to protect the table, and got to it.

First, I painted all of the edges of the tag, so that I didn't get fingerprints all over the place. Then I laid them down and painted three coats on each side.

The wood soaked up the paint very quickly, so it wasn't long until they were ready to thread.

I left a good bit of length on each, because I wanted to be sure I had a lot of flexibility when it came time to hang. Re-threading them was not an option for me!
Finally, I went upstairs and made a list of what was in each basket, trying to keep things in a cohesive style. This is what I came up with:
Accessories (I didn't know babies had accessories either...)
Jammies
NB Onesies and Outfits
0-3 Onesies and Outfits
Pants
6-9 Onesies and Outfits
Skirts and Bloomers
9-12 Onesies and Outfits
Holidays
We have an extra bin, so I left that one blank.


You can see that they definitely aren't perfect, but that is a vibe that works for us. When it comes time to change up the tags, we can just wipe them off with a damp cloth, and once it has dried, re-label.
And ask us in a year where we will store her clothes once they are larger than the size of my socks.
I can't wait to show you around the nursery! Hope you've enjoyed the little glimpses of the built-in that Ben made with his bear bare hands.
No comments:
Post a Comment